How to connect multiple monitors to laptop: A Simple Guide
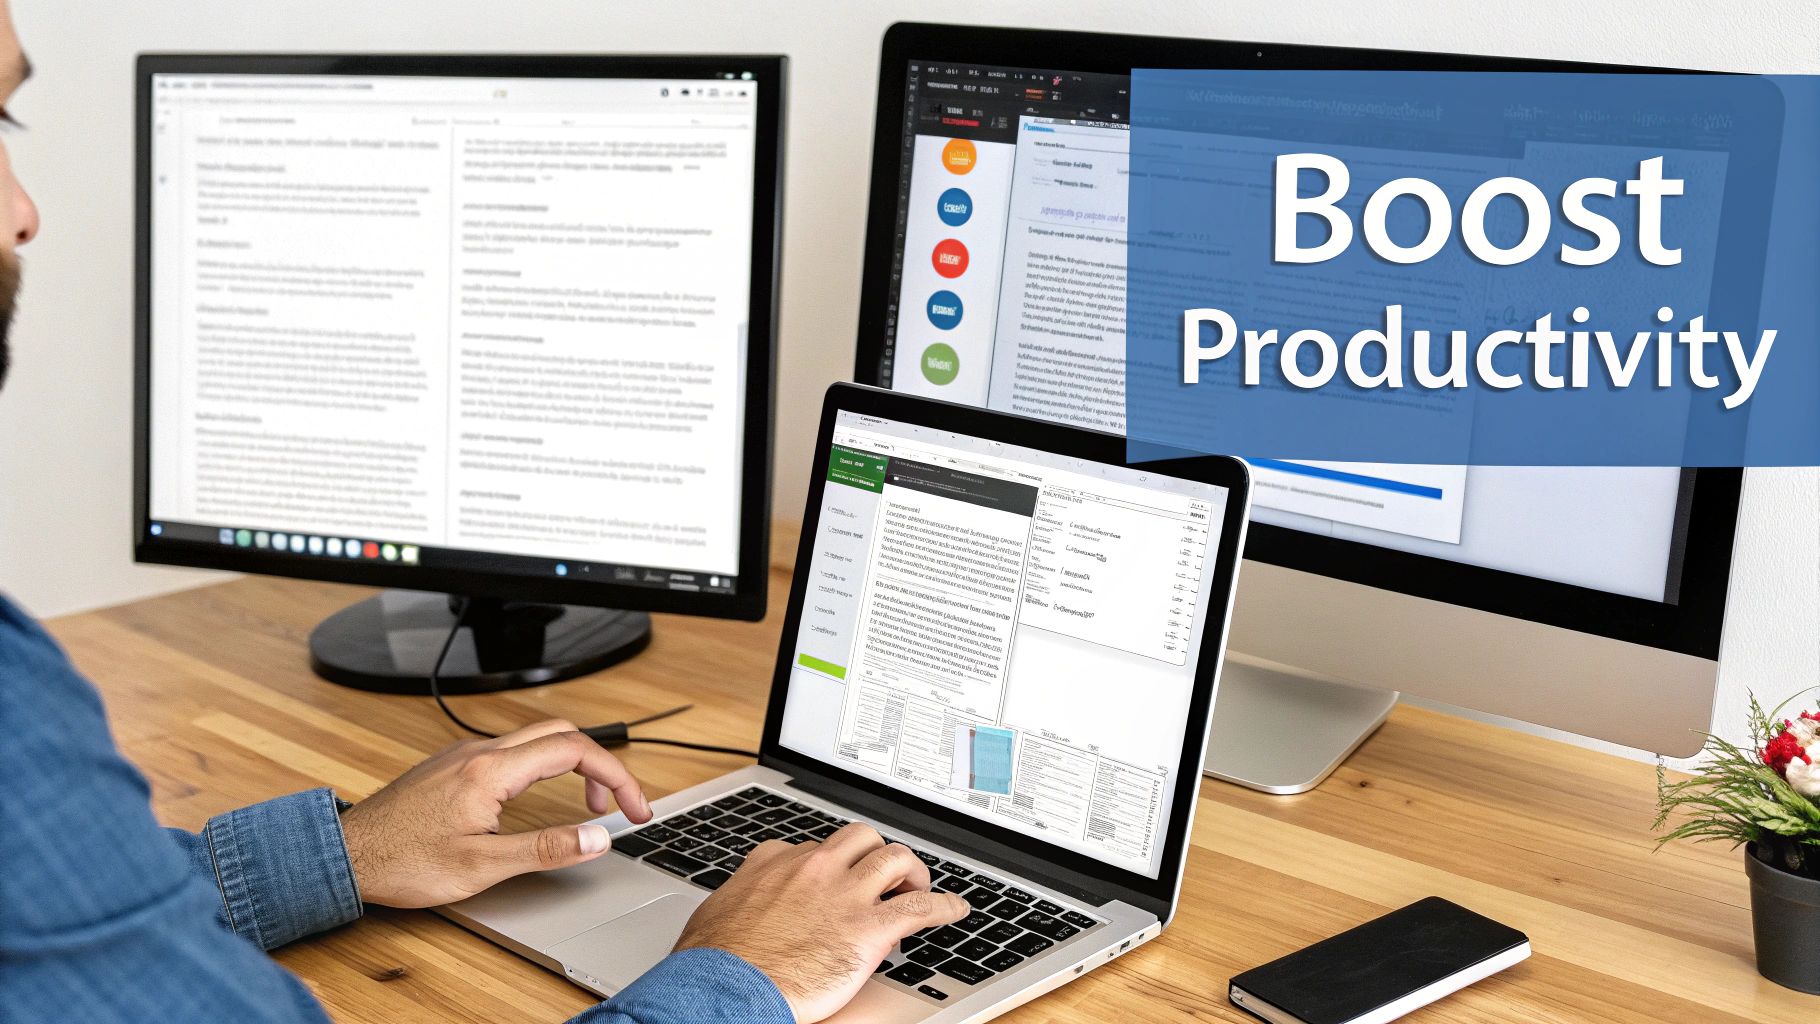
If you're still working with a single screen, you're missing out on a huge productivity boost. Seriously. Adding a second or even a third monitor is one of the fastest and most satisfying ways to completely change your workspace.
Think of it like this: working on one screen is like trying to build a puzzle on a tiny coffee table. With multiple monitors, you get to spread all the pieces out across a big dining room table. Suddenly, everything has its place, and the whole process feels less cluttered and more natural.
How More Monitors Will Genuinely Change Your Workday
Before we get into connecting cables and changing settings, let's talk about why this is such a game-changer.
Imagine you're a writer. Your main document is front and center. To the left, you have all your research and notes open. On the right, your team's chat is visible. You never have to switch back and forth between windows just to find one piece of information. That constant window-shuffling might seem small, but it adds up, draining your focus and mental energy.
This isn't just a feeling; the numbers back it up. A huge 83% of hybrid employees are already using two monitors, and they say their productivity jumps by as much as 40%. It’s not just about adding screen space; it's about creating a smarter, more organized setup that lets you work with your brain, not against it.
Unlocking a New Level of Efficiency
For certain jobs, a multi-monitor setup isn't just nice—it's practically a must-have. I've seen it firsthand in different fields:
- Programmers: They'll have their code on one screen, the live app preview on another, and helpful guides open on a third. This makes fixing problems much easier and speeds up the whole process.
- Designers: Imagine your main design canvas on one monitor, with all your tools, images, and color palettes on the side screens. Everything is in view, and nothing is overlapping.
- Analysts: This is a big one. You can have a huge spreadsheet stretched across one monitor while you build your report on another. Comparing data becomes easy, and you never lose your place.
I think people get this wrong—it’s not about doing more things at once. It's about managing your tasks better. You're creating separate zones for different things: a focus zone, a communication zone, and a reference zone. Splitting things up like this is surprisingly good at helping you stay focused for longer.
To see just how far you can take this, check out this ultimate guide to multiple monitor trading setups. Traders are the masters of this, and their special workspaces show just how powerful a well-planned multi-screen setup can be.
Checking Your Laptop and Monitors Before You Start
Before you buy cables or plug anything in, let's take a few minutes for a quick gear check. This simple step can save you a lot of headaches later. The goal is to figure out exactly what your equipment can do, so you can plan the best way to connect your multiple monitors. Trust me, it’s better than finding out you bought the wrong cable or that your laptop can't actually support all the screens you planned for.
First, let's see what your laptop can really do. While most modern laptops can handle at least one extra screen, the total number it supports depends on its internal graphics card. You could look for the original manual, but the quickest way is usually a simple online search.
Just type your laptop's exact model number (it's usually on a sticker on the bottom) into Google, followed by "technical specifications" or "spec sheet." You're looking for a section called "Display Support," "Video Output," or "Graphics." This will tell you the maximum number of external displays it can handle and at what picture quality.
Identify Your Video Ports
Next up, it’s time to match the ports. Take a close look at the sides of your laptop and the back of your monitors. You'll see a few different kinds of connectors, and knowing what you have is very important.
- HDMI: This is the one you’ve probably seen a hundred times. It looks like a stretched-out USB port, wider on one side than the other. It's the most common video port.
- DisplayPort: You'll often find this on fancier monitors and business laptops. It’s similar to HDMI but has one square corner and one angled corner, giving it a "D" shape.
- USB-C: This small, oval-shaped port is the Swiss Army knife of connectors. But here's the catch: not all USB-C ports are the same. If yours has a small lightning bolt icon or a "DP" symbol next to it, it can be used for video.
Once you know which ports are on your laptop and which are on your monitors, you'll know exactly what cables or adapters you need. For example, if your laptop has a USB-C port but your monitor only has HDMI, you now know you need a USB-C to HDMI adapter. Simple.
One detail that's easy to miss is power. Some connection types, like docking stations, can also charge your laptop while sending video. To learn more about your laptop's power needs, you can read about how many watts you need to charge a laptop.
With this info, you're ready to make a smart purchase. If your laptop has two USB-C ports and both of your monitors have DisplayPort inputs, you’ll confidently grab two USB-C to DisplayPort cables. Now, you’re all set to pick the best way to connect everything.
Alright, you've got your gear sorted. Now comes the fun part: figuring out the best way to actually hook up those extra monitors to your laptop. There's more than one way to do it, and the right choice really depends on the hardware you have.
Let's walk through the most common setups so you can find what works for you.
The Straightforward Direct Connection
The simplest way is just plugging things in directly. If your laptop has more than one video port—maybe one HDMI and one USB-C, for example—you can often just run a cable from each port to each monitor. Done.
This is the perfect solution for anyone who just needs one extra screen and wants to avoid buying any more gear. No fuss, no extra clutter. The only catch? Many modern laptops, especially the thin and light ones, only have a single video port, which means this method won't work.
For a Cleaner Setup: Use a Docking Station
If you want a truly clean and powerful desk setup, a docking station is the way to go. I personally love this method. Think of it as the main hub for your entire workstation.
You plug everything—both your monitors, keyboard, mouse, even your internet cable—directly into the dock. Then, a single cable (usually a USB-C) connects that entire hub to your laptop. It's incredibly neat. When you're heading out, you just unplug that one cable and grab your laptop. When you get back, you plug that same cable in, and your entire multi-monitor setup, accessories, and even power come back to life instantly.
Docking stations are fantastic for turning your laptop into a proper desktop computer without the daily hassle of plugging and unplugging a half-dozen cables. They create a permanent "home base" that's always ready to go. The convenience is a total game-changer.
This quick decision tree can help you map out the process, from checking your laptop's specs to grabbing the right cables.
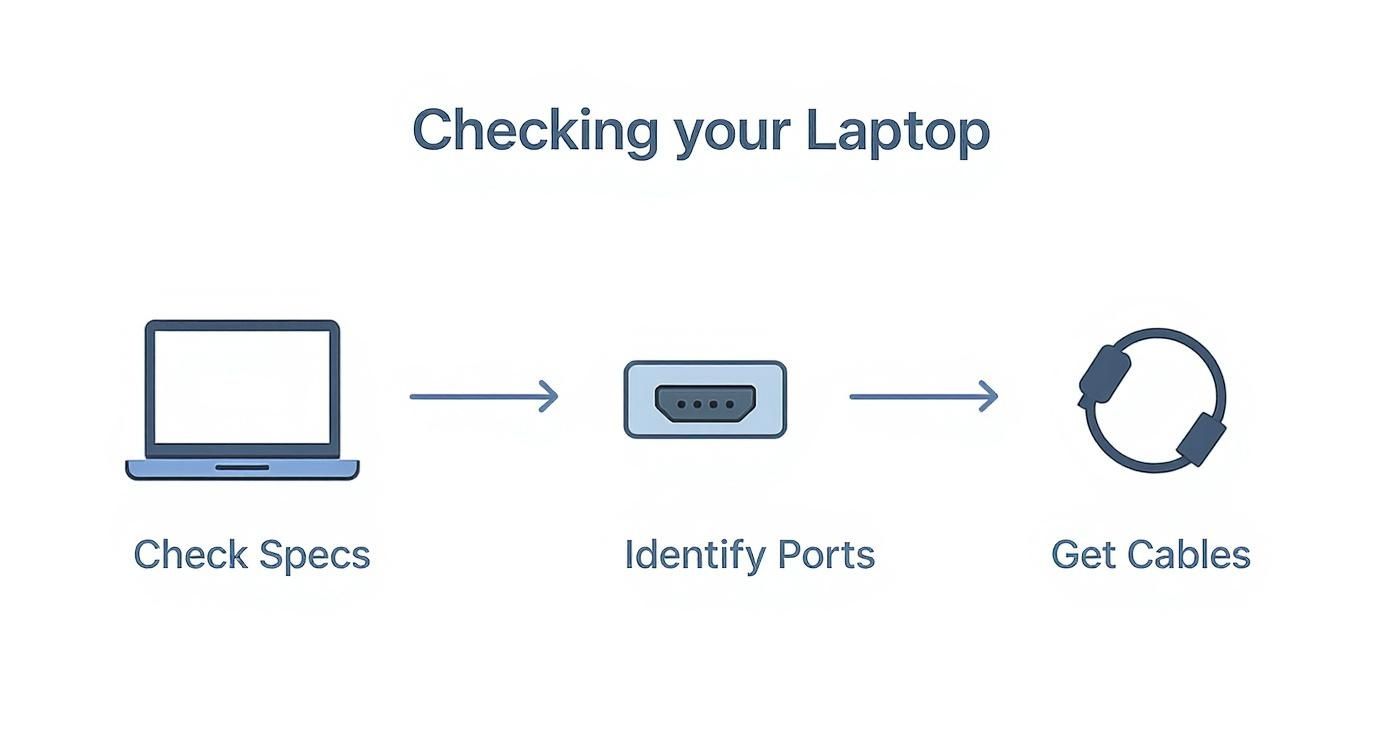
As you can see, it all starts with knowing what your hardware can handle before you decide how to connect it all.
When a USB Display Adapter Is the Answer
So what happens if your laptop is a bit older and doesn't have fancy ports like USB-C? Or maybe you just need to add one more screen to a setup that's already full. In these situations, a USB display adapter can be a real lifesaver.
These are little gadgets that plug into a standard USB-A port (the classic rectangular one) and give you a video output, like HDMI, on the other end. They have a tiny graphics chip inside that helps your computer support another display. They're not built for intense gaming, but for things like web browsing, spreadsheets, or chat apps, they work perfectly fine.
Which Connection Method Is Right for You?
Still not sure? This table should help you quickly compare the most common connection methods and see which one fits your needs best.
| Connection Method | Best For | Pros | Cons |
|---|---|---|---|
| Direct Connection | Laptops with multiple video ports and simple, one-monitor setups. | Easiest and cheapest method, needing only standard cables. | Not possible on laptops with a single video port. |
| Docking Station | Creating a clean, powerful, and permanent desk setup. | Connects everything (monitors, accessories, power) with one cable. | Can be more expensive than other options. |
| USB Adapter | Older laptops with limited video ports or adding an extra monitor. | Adds a video output to laptops that don't have enough. | May not work well for demanding tasks like gaming. |
Ultimately, choosing the right method comes down to your specific laptop, how many monitors you want to connect, and the kind of clean, efficient workspace you're trying to create.
Knowing the difference between port types is a huge help, too, especially when you're shopping for cables. If you want to learn more, check out our guide comparing HDMI vs. USB for display connections. It'll give you a better feel for why you might choose one over the other.
How to Configure Your Displays in Windows and macOS
With all your monitors plugged in and turned on, the last step is to tell your computer how to actually use them. Think of it less like a technical task and more like arranging furniture. You just need to show your computer where you've physically placed each screen so it can create one giant, connected desktop.
Whether you use Windows or Mac, the main ideas are the same. You'll go into the display settings, arrange your monitor layout, and choose how you want everything to work together. Let's get it done.
Fine-Tuning Your Setup in Windows
For Windows users, your control center is just a right-click away. Find an empty spot on your desktop, right-click, and select Display settings. This is where the magic happens.
At the top of this window, you’ll see numbered boxes. Each one represents a screen—your laptop's built-in display and every monitor you've connected. The goal is to make these digital boxes match your real-world desk setup.
- Arrange Your Screens: Click and drag these numbered boxes until their position on-screen matches their physical layout. Is your second monitor on the left? Drag box '2' to the left of box '1'. It's that simple.
- Identify Your Monitors: If you're not sure which box is for which screen, just click the Identify button. A big number will pop up on each display for a moment, clearing up any confusion.
- Set Your Main Display: You'll need to pick a primary screen—this is where your taskbar and new windows will appear first. Click the box for the monitor you want as your main, scroll down a bit, and check the box that says, Make this my main display.
This screenshot shows the Windows 10 Display Settings panel, with the numbered monitors all ready for you to rearrange.
The real game-changer here is in the "Multiple displays" dropdown menu. This is where you unlock the true power of your setup.
The single most important setting to change is switching from "Duplicate these displays" to "Extend these displays." This is what turns your separate screens into one continuous workspace, letting you seamlessly drag windows and your mouse from one monitor to the next.
Configuring Displays on a Mac
On a Mac, the process is just as easy. Open System Settings and head over to Displays. You'll be greeted with a similar visual layout of your connected screens.
Just like in Windows, you can drag the icons for each display around to match how they're sitting on your desk. The screen with the white bar across the top is your primary display. Want to change it? Just click and drag that white bar over to the icon for the monitor you'd rather use as your main.
One nice thing is that macOS usually defaults to extending your desktop, so you're already set up for maximum productivity from the start. From this same settings panel, you can also adjust the resolution and color for each monitor individually, making sure everything looks perfectly sharp and consistent across your entire workspace.
Getting Your Workspace Dialed In for Comfort and Productivity
Alright, you've handled the technical side. The monitors are connected, your laptop sees them, and your desktop is spread across multiple screens. Now for the fun part: making it a space you actually want to work in.
A well-organized, comfortable setup isn't just about looks; it's about setting yourself up for focused, pain-free work. Let's walk through a few tweaks I've learned over the years that can turn a good setup into a great one.

The single biggest thing you can do for your daily comfort is adjust your monitor height. The goal is to position your screens so the top edge is at or just slightly below your eye level. This one change is a game-changer for preventing that common neck and shoulder strain from hunching over all day.
I always recommend putting your main monitor directly in front of you. Your other screens should then be on either side, angled in slightly like a cockpit. This setup minimizes how much you have to twist your head and neck, which really helps over a long workday.
Taming the Physical and Digital Clutter
A clear desk helps clear the mind. With more monitors comes more cables, but managing them is easier than you think. A few simple tools have saved my desk from looking like a mess:
- Velcro Ties: These are my favorite for bundling cables together neatly behind the desk. They're cheap, reusable, and work great.
- Adhesive Cable Clips: Perfect for running a cable along the edge of your desk or down a leg to keep it totally out of sight.
- Cable Sleeves: If you want a super-clean look, a fabric sleeve can zip up all your power, video, and USB cables into a single, tidy tube.
It's just as important to organize your new digital space. All that extra screen area can quickly become messy without a system. This is where window management apps are a lifesaver. Tools like Microsoft's PowerToys (especially the FancyZones feature) let you create custom grid layouts. You can drag a window and have it snap perfectly into a pre-set zone.
Imagine having a dedicated spot for your email, another for chat, and a large central area for your main project—all arranged perfectly every time you sit down.
A well-designed workspace is a long-term investment in your well-being. Focusing on posture, screen placement, and cable management not only boosts your daily productivity but also helps prevent the aches and pains that can come from a poorly arranged desk.
To really get this right, it helps to think beyond just the monitors. A huge part of preventing discomfort is mastering work-from-home ergonomics for a healthier space, which covers everything from your chair to your keyboard.
The Final Polish: Comfort and Focus
Don't forget the small things that make a big difference. Take a moment to adjust your monitors' brightness to match the lighting in your room. A screen that's too bright in a dim room is a sure way to get eye strain.
I also highly recommend using your computer's "night light" or blue light filter in the evenings. This feature adds a warmer, yellowish tint to your screens, which is much easier on the eyes during late-night work sessions. These little adjustments are the final touches that make your workspace not just powerful, but genuinely pleasant to use for hours.
Solving Common Multi-Monitor Setup Problems
Even when you do everything right, sometimes a new multi-monitor setup just… doesn’t work. You’ve plugged everything in, but one screen is black, or the picture looks all wrong. Don't worry. Most of these issues are super common and usually have a simple fix.
Let’s walk through some of the most frequent problems and how to solve them.
The most common issue by far is a monitor that your laptop simply doesn't see. Before you start messing with software settings, always check the physical connections first. It’s amazing how often a cable that’s just a little bit loose is the entire problem.
Go ahead and unplug the video cable from both the monitor and your laptop (or dock). Now, plug it back in, making sure you feel or hear a solid click. If that doesn't work, try another port on your laptop or even a different cable. Cables can stop working without any warning, and swapping one out is the fastest way to know for sure.
When Your Display Looks Wrong
Okay, so your monitor is being detected, but the picture is a mess. Maybe it's flickering, blurry, or the colors are just weird. This kind of problem almost always points to a software issue, not a broken monitor. The main suspect? An outdated graphics driver.
Think of your graphics driver as the translator between your laptop and your screens. If that translator is out of date, it might not know how to correctly talk to your new monitor setup. Luckily, updating it is easy.
- On Windows: The built-in Windows Update tool is your first stop. It often finds the right drivers for you. If you want to be more hands-on, you can go to the website for your graphics card maker (like NVIDIA, AMD, or Intel) and get the latest version yourself.
- On macOS: Apple takes care of this for you. Just make sure your system is up to date by going to System Settings > General > Software Update.
You’d be surprised how many display problems are fixed with a simple driver update. It's a key step for a stable connection.
The whole point of troubleshooting is to figure out the problem. Is it the cable? The port? The driver? By testing one thing at a time, you can quickly find the source of the issue without getting overwhelmed.
Resolving Picture Size and Scaling Issues
Another classic problem is when a monitor connects, but everything on it looks stretched, fuzzy, or way too big. This happens when the monitor is showing a picture size it wasn't built for. The fix is in your display settings (right-click the desktop in Windows or go to System Settings > Displays on a Mac).
Find the settings for the problem monitor and look for the Display resolution dropdown. You'll see a long list of options, but only one will have (Recommended) next to it. Always pick that one. This is the monitor's natural setting, and it guarantees the sharpest, clearest picture.
While you're there, check out the scaling option. If you have a high-resolution screen where text and icons look tiny, increasing the scaling from 100% to 125% can make everything much easier to read without losing that crisp image quality.
For a deeper look into all sorts of device issues, our general troubleshooting guide has a ton of other tips that can help you figure out and fix technical problems.
Your Top Questions About Monitor Setups, Answered
Starting a multi-monitor setup can feel a bit confusing. I get it. You've got the screens, but a bunch of questions pop up right away. The good news is, most of the common problems have pretty simple solutions.
Let's walk through some of the things people always ask when they first try to connect multiple monitors to a laptop.
How Do I Know How Many Monitors My Laptop Can Handle?
This is the big one, and the answer is built right into your laptop's graphics hardware.
The easiest way to find out for sure is to do a quick search for your laptop's exact model number followed by "technical specifications" or "tech specs." Once you find the official product page, look for a section called "Display Support" or "Graphics." That little line of text will tell you exactly how many external displays your machine was built to run.
I Only Have One HDMI Port. How Do I Connect Two Monitors?
This is probably the most common problem people face. And no, you can't just split a single HDMI port into two. But you definitely have other options.
The best solution here is a docking station or a good USB-C hub that has multiple video outputs (like HDMI, DisplayPort, or both). You just plug the dock into a single high-speed port on your laptop—usually a USB-C port—and it instantly gives you the extra connections you need for your monitors.
Think of a docking station as an expansion pack for your laptop. It takes one powerful port and turns it into the five or six you actually need for a full desk setup, solving the "not enough ports" problem instantly.
Why Is My Second Screen Just a Clone of My Main One?
Ah, the classic mirror problem. This happens when your computer is in "Duplicate" mode instead of the far more useful "Extend" mode. It's a very easy fix.
- For Windows users: Just right-click on your desktop and select Display settings. You'll see a dropdown menu for multiple displays. Switch it from "Duplicate these displays" to "Extend these displays." Problem solved.
- On a Mac: Open System Settings and head over to Displays. macOS is pretty good about using extended mode by default, but if it's mirroring, you can adjust the arrangement here and tell it to treat each screen as its own separate workspace.
Changing that one setting is what turns your setup from a simple copy into the giant, connected workspace you were hoping for.
Ready to protect your laptop's battery for the long haul? Chargie is the smart solution that prevents overcharging, extends battery lifespan by up to 4x, and saves you money. Get yours today at https://chargie.org.