As smartphones become an increasingly integral part of our daily lives, it is crucial to ensure that we have a fully charged and healthy phone battery at all times. A healthy phone battery is not only necessary for staying connected to the outside world, but it can also play a vital role in our safety and well-being.
One of the most obvious reasons why a healthy phone battery is essential for our safety is that it allows us to call for help in an emergency. Whether it’s calling 911 or a loved one, having a dead phone can be a terrifying and potentially dangerous situation. In the event of a car accident, medical emergency, or other crisis, having a charged phone can be the difference between getting assistance and being stranded without help.
However, a healthy phone battery is also important in other emergency situations. For example, if there is a natural disaster or other emergency situation in your area, having a charged phone can help you stay connected to the outside world and get important updates and information. This can be especially crucial if you are in an unfamiliar location or are unable to access television or radio.
A healthy phone battery is also important when you are out and about in general. If your phone dies while you are in an unfamiliar place, it can be challenging to find your way back home or get in touch with loved ones. GPS and map apps can be invaluable in these situations, but they are useless if your phone is dead.
Additionally, a healthy phone battery is essential for staying in touch with loved ones and friends. Whether you’re checking in with family members or receiving important messages from friends, having a dead phone can make it difficult to stay connected to the people you care about.
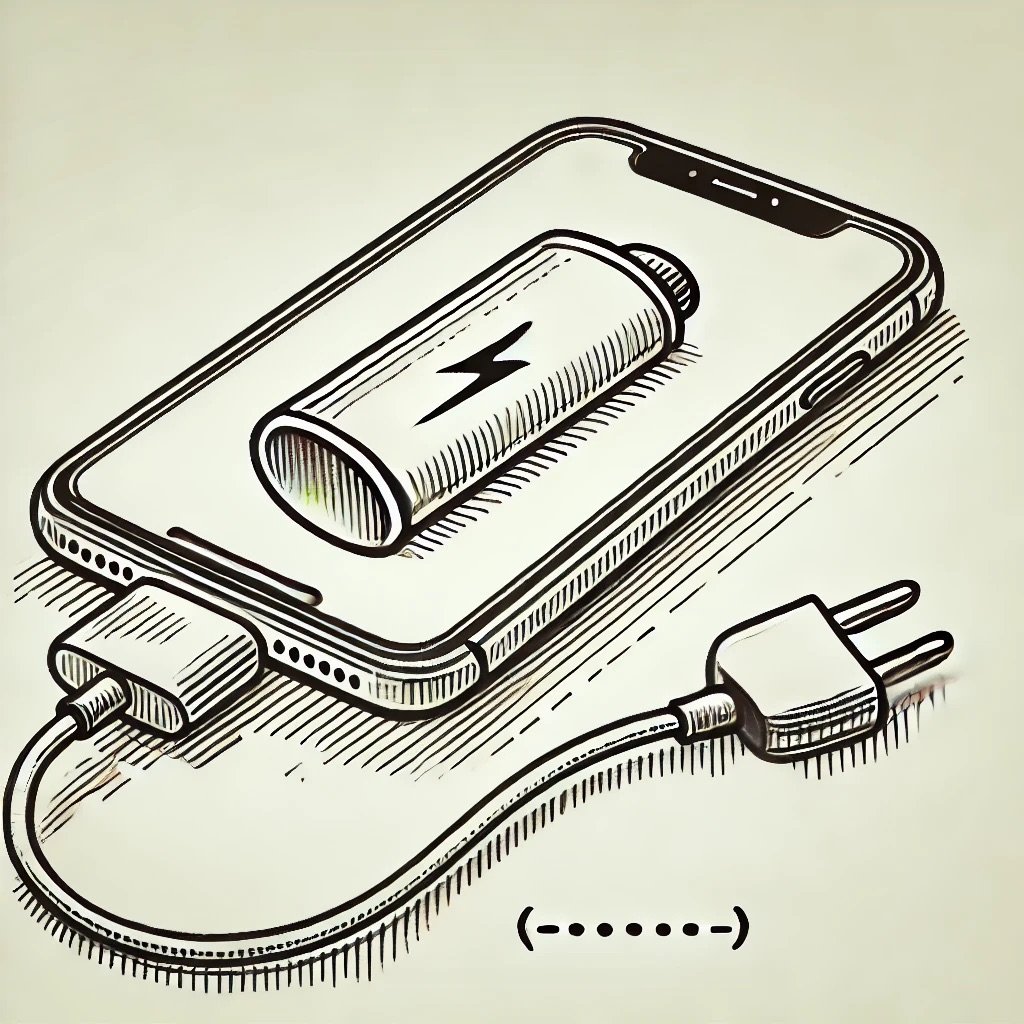
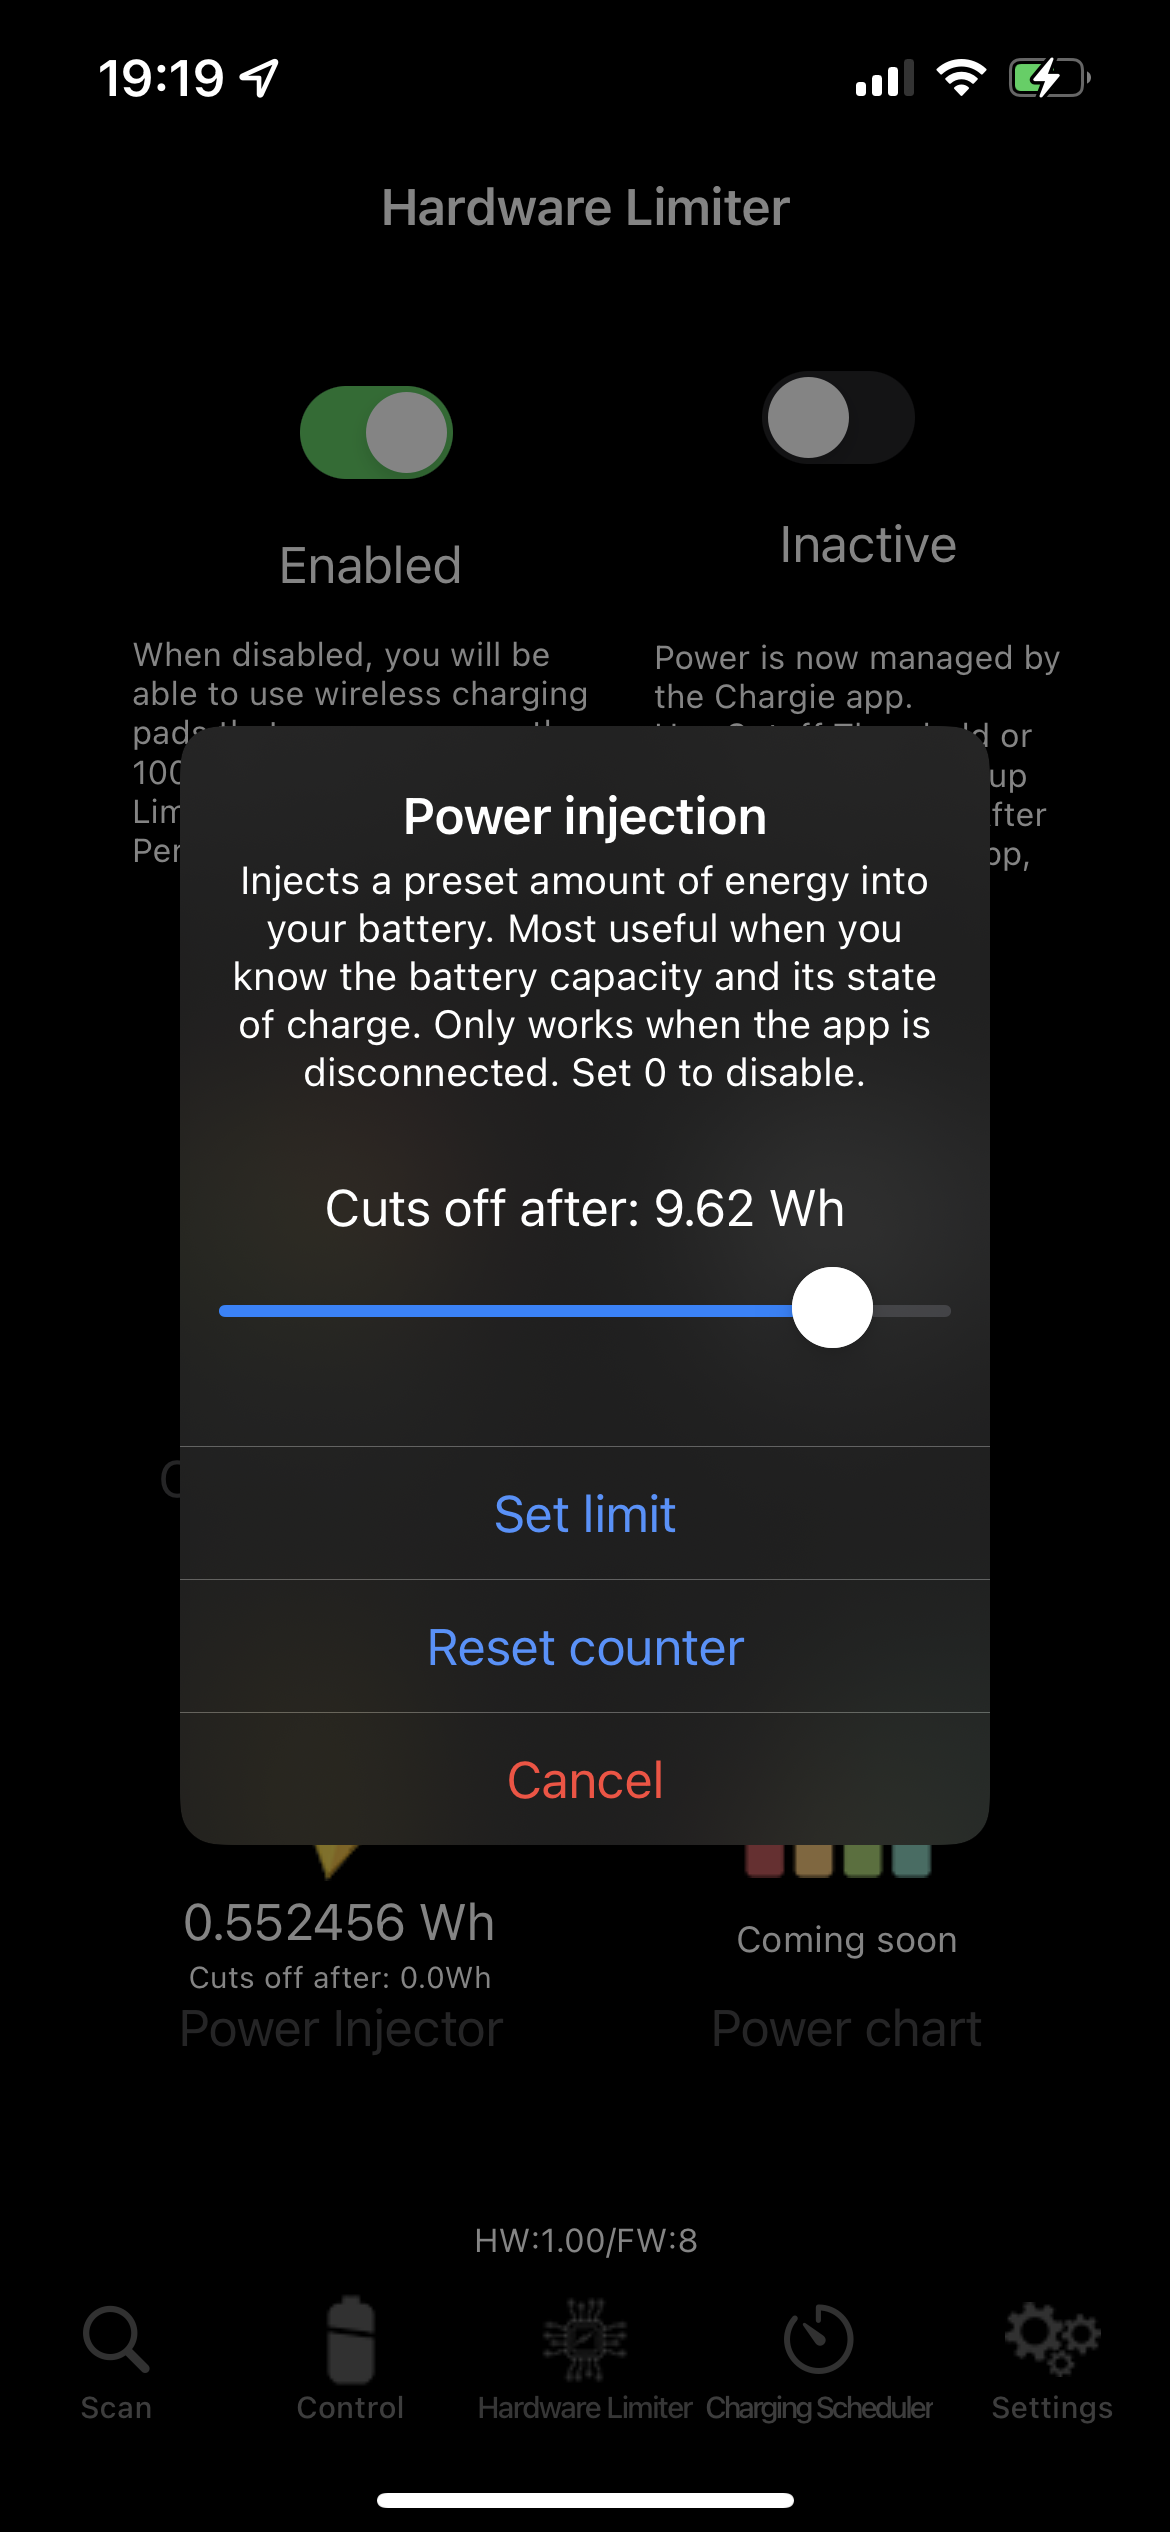
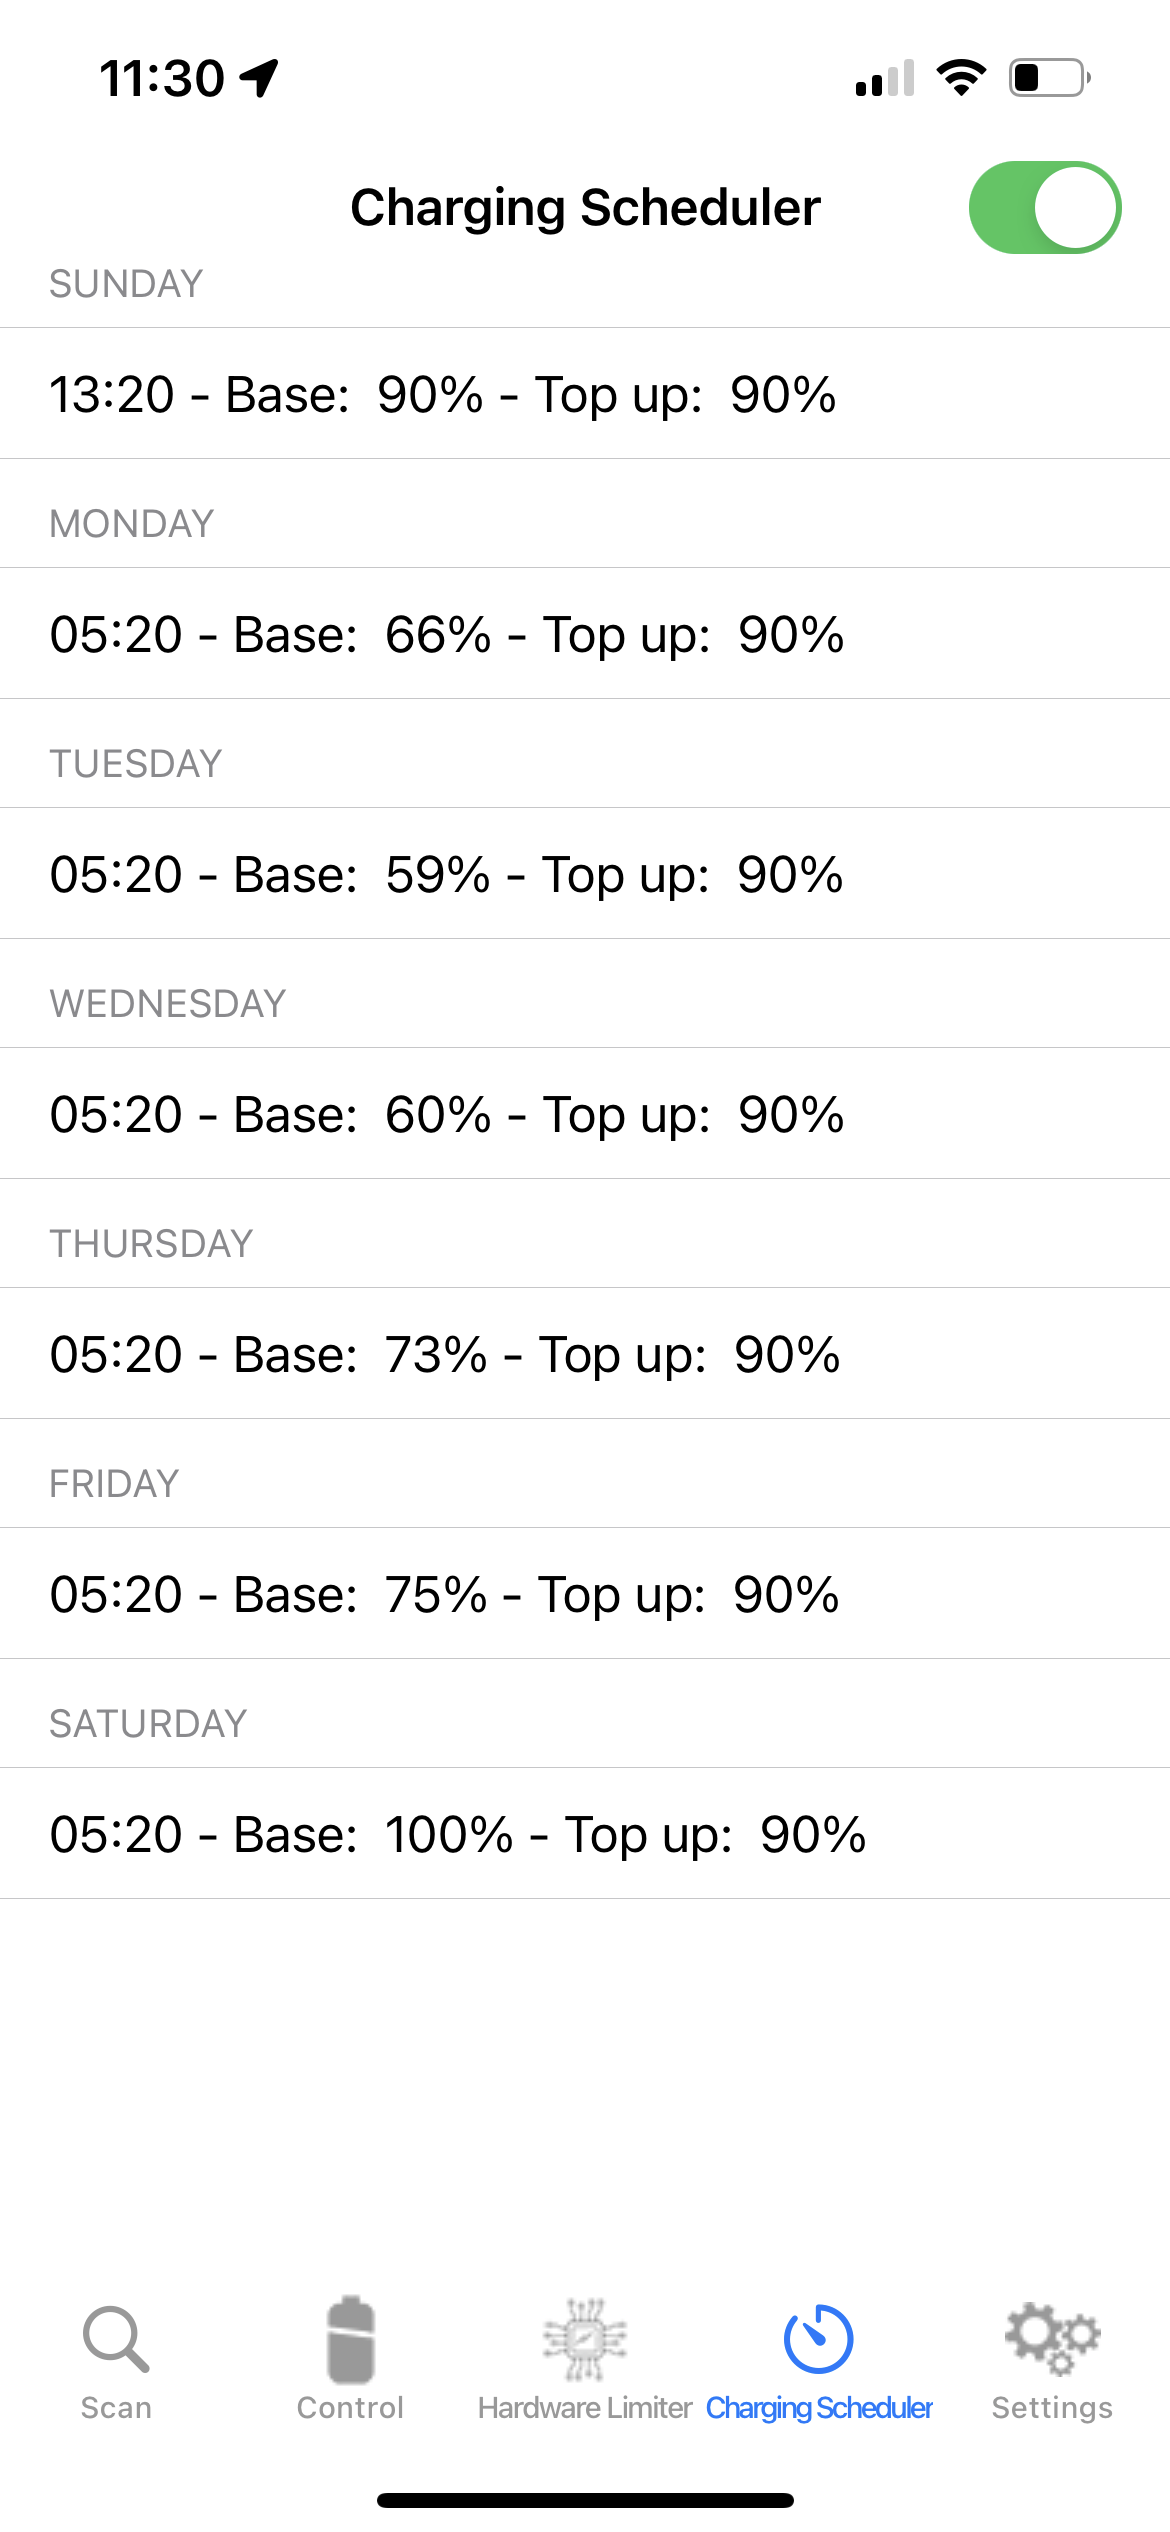
So, how can you ensure that your phone battery stays healthy and charged? One solution is to use Chargie, a phone charging limiter. Chargie helps you maintain a healthy phone battery by limiting the amount of time you spend charging your phone. By reducing the amount of time your phone spends plugged in, Chargie helps to prevent overcharging and can extend the life of your phone battery. This way, you can be sure that your phone is always ready for use when you need it most.
In summary, a healthy phone battery is crucial for our safety and well-being in a variety of situations. Whether we need to call for help, stay connected to the outside world in an emergency, find our way home, or stay in touch with loved ones, a charged phone can make all the difference. By using a product like Chargie, we can ensure that our phone batteries stay healthy and charged at all times, giving us the peace of mind and security we need to navigate the world around us.
You can order yours here: https://chargie.org/shop.