When Nokia Labs Met Chargie: A Tale of a Bulging Battery and an Unexpected Hero

Here’s a Nokia 8.3 phone with its case popping off like an overfilled suitcase. The battery inside is looking like it’s ready to burst out. This particular phone comes straight from our friends over at Nokia Labs, the tech wizards who once were the #1 phone makers. Now phonemaking is not their #1 priority anymore, but they excel at other areas of mobile innovation, like 5G network development.

Read more “When Nokia Labs Met Chargie: A Tale of a Bulging Battery and an Unexpected Hero”

How to Automatically and Immediately Start the Chargie app on iOS devices

For those of you who’ve been using the Chargie app on iOS, you know that there’s a 15-minute delay from the moment you plug it in to the moment the Chargie device actually starts managing the connection. Sometimes it’s shorter, sometimes it’s longer. But that’s the way it was until today.

Generally, this works out just fine – the phone is going to stay connected to the charger for more than that. And it generally works well if you don’t want the app to show up every time you plug your phone.

But today I received an email from Chargie user Dirk in Germany who found out another way of starting the Chargie app by using the automations present in iOS’s Shortcuts app.

I won’t embed any screenshots except for the Shortcuts app because they’d clutter the post a lot. The following guide is pretty straightforward (adapted from Dirk’s email):

– open the Shortcuts app

– go to Automation (in the middle at the bottom)

– click on “+” in the upper right corner

– select “Create Personal Automation”

– scroll down and tap on “Charger”

– “When charger is attached” (left side) should be selected

– press “Next” in the upper right corner

– select “Is Connected”, then Next

– select “Add Action”

– select “Scripting”

– select “Open App”

– tap on the word “App” in the “open app” text field

– select “Chargie – phone charge limiter”

– click on “Next” in the upper right

– deselect “Ask before running”

– click on “Done” in the upper right

This way, every time you plug your phone, the Chargie app gets brought up to the front and the connection is immediate.

Thank you, Dirk Drews (https://dirk-drews.de), for the tip, and hope you have a wonderful time with your Chargie device!

Chargie’s New Top Up Scheduler Could Save the Day (and the battery)

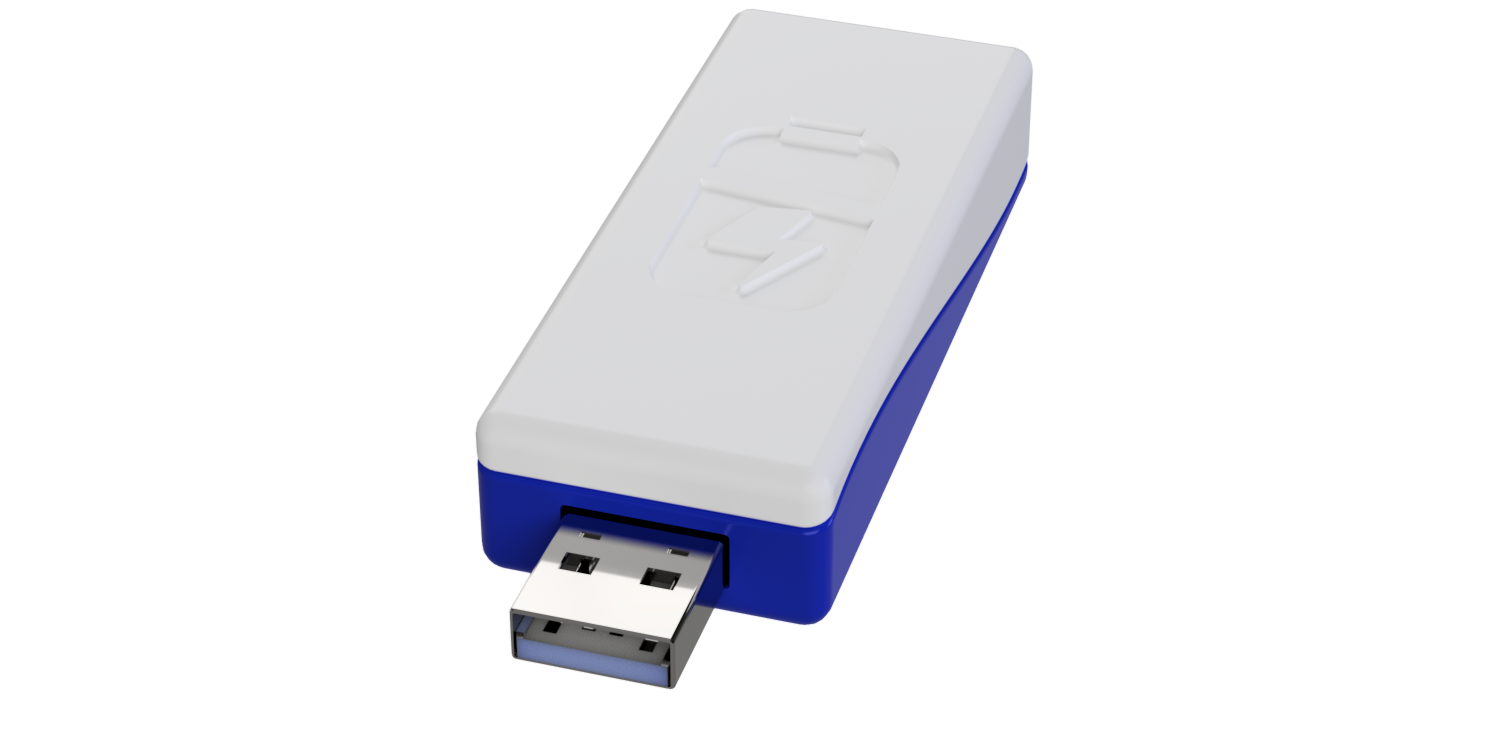
I’ve built the Chargie system from the ground up as a means to save battery lifespan by limiting the time your phone stays at high charge levels. It is working, and we have numerous reports of very satisfied customers whose phones did not go to rubble, but still continue to work great after a long time.

However, life is not ideal and there are circumstances when you really need that 100% for the next day. Up until now, you just had to set Chargie to go to 100%, and the app would cut it there and act upon the hysteresis you set (Allowed Charge Drop). It’s a pretty good method, but in the meantime, looking at real needs, I decided it’s not the very best, since you still keep the battery “up there” for the whole night (even if it’s discharging).

And, if you’re the unlucky person whose battery capacity has already been going south for a while, you’ll be emptying it well before you can plug in during the day, which would make using Chargie a nuisance, not an advantage. This would take it into a lower than 20% state of charge sometime in the afternoon, which creates heat and makes things even worse for it.

Apple has sniffed this realm since iOS13 and has done something good, in theory – keep the battery at 80% for the night and only top it up in the morning, before you wake up. It sometimes works. Because their algorithm attempts to “learn” your routine – if you have one. If you don’t, you’ll rely on their AI guesswork and you may wake up with only 80% in the morning or your phone may stay at 100% all night – and you won’t know, won’t you?

So here’s my proposal: I implemented a feature in Chargie that allows you to set up a time when you want your phone to start topping up. Essentially, you can keep the battery somewhere in the midrange – 50 or 60% – during the night, without any stress on it whatsoever, and if you wake up at 7am you can set the Top Up Scheduler for 6:15am (depending on your charger).

The Top Up Scheduler’s limit value is also configurable from Settings – so if you’d rather wake up with 90%, you can keep the phone at 50 for the night and only top it up to 90 before you wake up, very flexibly. This is way, way better than holding it up at 90% for the whole night, like it was so far possible.

For now, the time estimation is yours to make, but I’ll work on something more automatic in the following period. However, it will not resemble Apple’s, because it’s going to be something much better – no algorithm can predict your maybe hectic schedule more accurately than you. Charging times can be forecast, though. And so can your phone’s alarms be read and interpreted, if you use them. But it’s ultimately you who should be in control, not a “magic,” fully automated process.

The Top Up Scheduler is available right now in Beta version, under the Beta channel on Google Play – so if you want to experiment something new, go ahead and join the beta on the same Play page where you downloaded the app.

I would like to thank all of you who asked for this feature along the way and those who helped debug everything so far.

Go order a Chargie right now and join our community of resource-conscious people.

Happy New Year!

There we go.

It’s exactly a year since I’ve sketched the first Chargie schematic. I can’t believe it went so fast!

Today I’ve compiled version 1.18.06 of the app, the best so far. Now Chargie can do much more than it could back in May when version 1.0.0 came out.

I remember the first customer at Maker Faire Vienna in May – he was a very young dude, saying he’d dreamed about such a device for years – that’s what’s truly fulfilling about inventing and making stuff.

Knowing that your creation will enter people’s homes, will satisfy their needs, that some of them will be actively involved in the very core of your product’s development with their original ideas, is something few people experience in their lifetime.

It’s been an honor knowing you all from around the world. We’ve sold more than 1300 Chargies on every inhabited continent, in most of the countries where there’s a smartphone.

It’s been a good time – with real feedback, as deserved – good or bad.

Let 2020 be a year of progress for this project and let batteries live well for your entire phones’ lives.

Happy New Year!

Your Chargie’s creator,

Ovidiu Sandru

How to Use the Chargie App

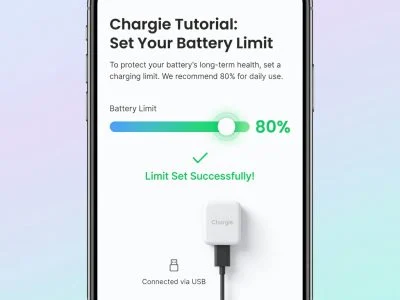
The Chargie app sits at the core of your phone’s future battery life.

We thought about making an app that people won’t need instructions using. And we think we succeeded, but still things are clearer for everyone when they’re being laid out properly.

0. Connect the hardware

Nothing special here – just insert your Chargie stick into the regular wall charger or mobile battery and the phone in the other side of Chargie. It should sit in-between your charger and your phone.

The setup is so simple it’s almost magic.

1. Keep it on

First, you need to know that the Chargie app is essential for the stick to work. It is the one commanding the switch to turn on or off, and the one providing feedback when the battery reaches the desired level. If you kill the app, the Chargie stick will act just like a power cable, nothing more.

The system has been designed like this from the very beginning, since you don’t want your phone to not get charged should anything happen to the app.

2. Connect to a Chargie

When you start the app, it will scan for Bluetooth devices. Make sure you’ve accepted the three dialogs at the beginning, they grant the necessary rights for the app to work properly.

Then, just click the Chargie you want to use, wait for the Bluetooth icon to turn green and and pass on to the next step.

If you have more than one Chargie device in the list, a down-pointing animated arrow will appear below them. Just swipe down or click that arrow to see the whole bunch. If not used, the list will collapse to just one item after 10 seconds.

After the charge-mode Chargie is set, the app will automatically connect to it when the phone is plugged in next time. If you own multiple Chargies and the next time you use another one, you have to manually select it again. After that, it will default to the last one used.

3. Set your charge percentage

After you’ve connected, drag the battery-shaped slider to your wish. You will notice that if the current charge percentage is higher than what you set, the red LED on Chargie will turn off, and so will power to your phone.

3.1. How charging works

  • below 95%

Chargie fills your battery up to the percentage you chose, waits for it to drop 1% and then restarts charging.

You can charge up to whatever value you wish, and it’s best if you charge from 70 to 85%.

  • above 95%

There are days when you know you’ll need the full battery. Just set the threshold to 100% (or above 96%) and Chargie will still do a better job than if you hadn’t used it:

It just goes to 100% and then performs a hysteretic charge. What that means is it lets the phone discharge down to 95% and then recharges again. The discharge normally happens very slowly during the night, since it’s being done with the screen off. This lets the battery cool down to room temperature and doesn’t add stress to it, like a normal charger would by constantly topping it up to 100%.

All of this should keep the battery happy and less stressed that normal, which surely guarantees longer lifespan and a more satisfying overall user experience.

4. How to forget a device

Method A.

There are times when we want to delete things from our list. While connected to a device, just click the “Connected to xxxx” label below the battery and the app will disconnect/forget that device.

Method B.

Just go to menu (the three vertical dots in the top right side of the screen) -> Manage Devices.

Click on the red X circle to delete any of the Chargies you connected to in the past. Their name will go back to “chargie”, and you’ll be able to change it whenever you connect to them again.

5. Customize your Chargie’s name

For sure that if you have more than one Chargie, you’ll be needing this. The app knows its devices by their Address (the hexadecimal numbers below the name in the list), but it should also be easy for you to recognize them quickly. That’s why you can just tap “Rename” at the top of the screen and give it a new name. It’s that simple.

6. Yes, it’s in the icons

The three icons are very important to understanding Chargie. They’ve been designed to be intuitive, but just to keep things safe, this is their meaning:

All of their grey variants show the inactive status. Red bulb means Lamp Mode is active but switched on.

7. Download the Chargie App

You can download the Chargie app right from the standard Google Play on your phone by searching “Chargie”, or the link below:

https://play.google.com/store/apps/details?id=com.ble.chargie

🎉 Huge Bulk Pack discounts & FREE USB-C cables for Chargie C Basic today!

X
w
Add to cart

Your Cart

Cart is empty

Subtotal
lei0.00
Tax
lei0.00
Total
lei0.00
0