A Guide to a Laptop Dual Monitor Setup
A dual monitor setup is simple: you're just connecting two extra screens to your laptop. It’s usually done with HDMI, DisplayPort, or USB-C cables. This lets you either show the same thing on all screens or, more usefully, stretch your computer's desktop across all of them. This makes doing multiple things at once a whole lot easier.
Why Dual Monitors Will Change How You Work

Before we get into the "how-to," let's talk about the "why." Adding a second screen is more than just getting more screen space. It completely changes how you work by ending the need to constantly flip between windows.
Think about it. If you're trying to compare two big spreadsheets, having them side-by-side on separate screens is a game-changer. No more switching back and forth or trying to resize windows perfectly. It just removes a huge, repetitive frustration from your day.
Real-World Examples and Benefits
I see this all the time with creative people, like designers or video editors. They'll keep their notes or project timelines on one screen while the main monitor is used entirely for their creative software. This helps them stay focused without cluttering up their main workspace.
For anyone working from home, the benefits are even clearer:
- Video Calls: You can be fully present in a video call on one monitor while looking at documents or taking notes on the other. No more awkward "let me find that file" moments.
- Managing Email: Keep your inbox open on a second screen. You can glance at urgent messages without breaking your flow on your main task.
- Research and Writing: This is a big one. I'll have a dozen web pages open for research on one screen and my document open on the other. It makes gathering information so much faster.
The real magic is using each screen for a specific job. It's like clearing up mental space, which lets you focus entirely on the task at hand. Your focus and efficiency just shoot up.
It's no surprise that this kind of setup is becoming common. The global market for dual screen laptops was valued at around USD 2.9 billion in 2025 and is expected to reach USD 3.8 billion by 2035. You can read more about this market trend on futuremarketinsights.com. This isn't just for a few people anymore; it's a major shift in how we work.
In the end, a good dual monitor setup isn't a luxury. It’s a smart investment in making your work smoother and more productive.
Matching Your Laptop's Plugs to the Right Gear
Alright, before you can enjoy your new multi-screen setup, you need to check out your laptop. The very first—and most important—step is figuring out what kind of video plugs (or ports) you have.
Getting this right from the start saves you the headache of buying cables or adapters that don’t fit. Think of it like matching a key to a lock. Your laptop has specific plugs, and your monitors have specific plugs. Your job is to find the right cable to connect them.
The Most Common Video Plugs Explained
Most modern laptops come with one of a few standard types of plugs. Let’s break them down so you know exactly what to look for.
- HDMI: This is the one you’ve probably seen a million times. It's that angled, flat plug that’s been the standard on TVs and laptops for years. It's a very reliable, all-in-one cable for both picture and sound.
- DisplayPort: This one looks a lot like HDMI but has one straight corner and one angled corner. You’ll find it often on business laptops and monitors, as it can handle faster screen updates for gaming or design work.
- USB-C / Thunderbolt: This is where things get interesting. This small, oval-shaped plug is becoming the new standard for everything. But here's the catch: not all USB-C plugs can send video. To be sure, look for a tiny lightning bolt symbol (for Thunderbolt) or a "DP" logo (for DisplayPort video) right next to the plug.
The journey to a perfect dual monitor setup really does begin with your laptop. Picking a computer with the right features from the start is key. For some solid advice on that, check out these 5 Things To Consider When Looking For A Work Laptop.
Choosing Your Connection Gear
Once you've found the plugs on your laptop, it’s time to pick how you'll connect everything. This decision usually comes down to what your laptop can handle and your budget.
You have three main options: direct cables, simple adapters, or a full docking station. Each has its pros and cons. A simple adapter might be perfect for a clean setup, while a dock gives you a lot more flexibility. And for a deeper look at how different plugs compare, we've got a great guide on the differences between HDMI and USB.
The real goal here is to find the simplest solution that just works. If your laptop has two video plugs—say, one HDMI and one video-ready USB-C—you can probably get by with just two cables. But if you only have one video plug, a dock or a special adapter is going to be your best friend.
To make things easier, I've put together a quick comparison to help you figure out what's best for your desk.
Choosing Your Connection Method
This table breaks down the common connection types to help you select the best option based on your laptop's plugs and needs.
| Connection Type | Best For | Things to Know |
|---|---|---|
| Direct Cables | Laptops with two or more video plugs (e.g., HDMI + Thunderbolt). | This is by far the cheapest and simplest way. You just need the right cable for each monitor, like an HDMI-to-HDMI cable. No fuss. |
| Adapters | Laptops with only one video plug, where you need to connect a second monitor. | A USB-C to Dual HDMI adapter is a common solution here. They're affordable, but be sure to check the details—some have limits on the picture quality they support. |
| Docking Stations | Anyone who wants a clean, one-cable solution to connect everything—monitors, keyboard, mouse, and even power. | Docks are the most powerful option, but they're also the most expensive. They turn your laptop into a full desktop computer with a single plug. |
Each option gets the job done, so it's all about matching the gear to your specific laptop and how you plan to use your new setup.
Getting Everything Hooked Up For The First Time
Alright, you've got your gear ready. Now for the fun part—actually plugging everything in and bringing your new setup to life. This is where your digital workspace starts taking shape on your desk. Don't worry; the process is pretty simple, and I'll walk you through it to avoid any common problems.
The trick is to do it step-by-step. Instead of connecting everything at once and hoping for the best, it's smarter to connect and test one monitor at a time. This little bit of patience makes finding problems easy. If something doesn't work, you know exactly which connection is causing the issue.
This simple infographic breaks down the main steps, from checking your laptop's plugs to getting everything connected.
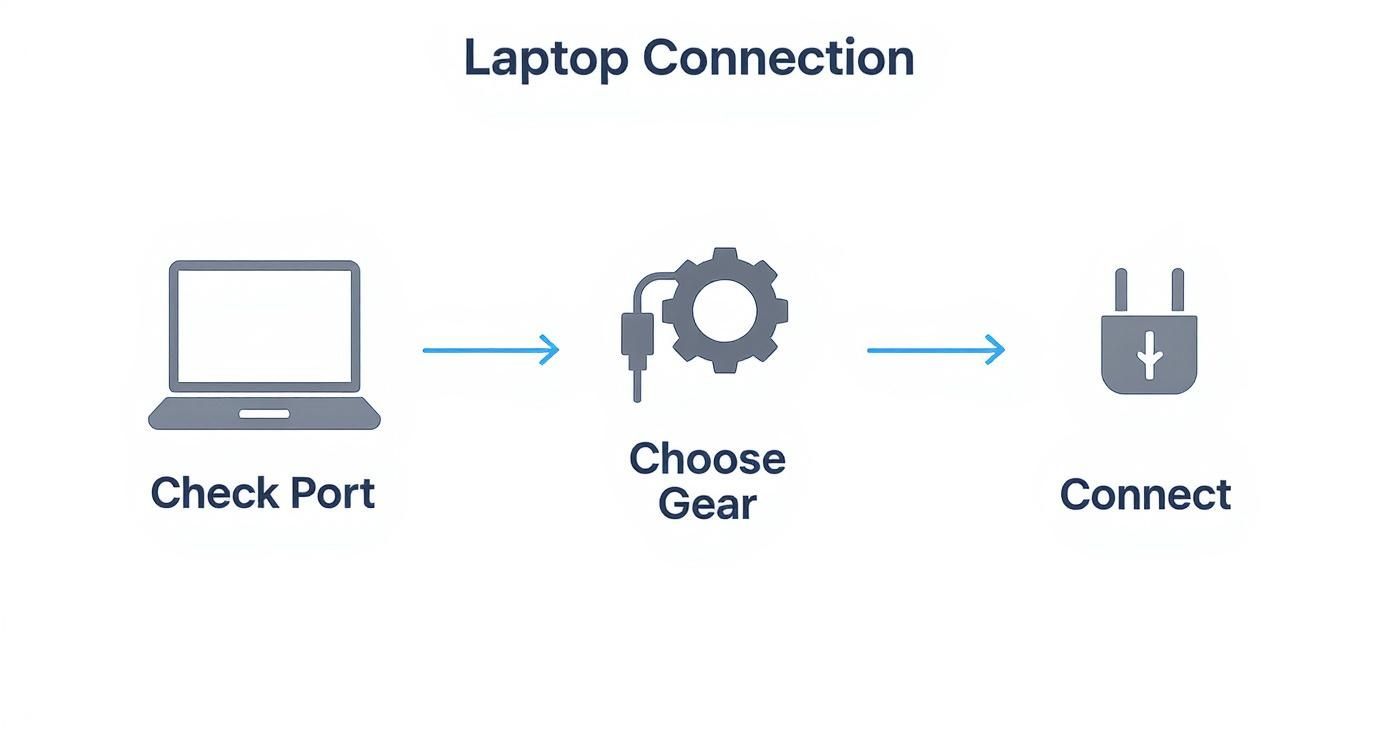
As you can see, the whole process really comes down to matching what your laptop can do with the right cables and adapters. Get that part right, and the final connection is easy.
Making the Physical Connections
First things first, power everything down. That means your laptop and both extra monitors. It’s a small but important safety step that protects your gear from any random power issues while you’re plugging things in.
Now, let's focus on just one monitor to start.
- Plug its power cable into a wall outlet and then into the back of the monitor.
- Next, grab your video cable (like an HDMI or USB-C) and connect one end to the monitor and the other to your laptop or docking station.
With that first monitor physically connected, turn it on, then turn on your laptop. Your computer should automatically see the new display. If you see your desktop pop up, you're good to go! Power everything down again and do the exact same thing for the second monitor.
I’ve seen it a hundred times: people using old, frayed, or cheap cables that just can't handle the information needed for a crisp picture. Do yourself a favor and invest in a quality cable. It’s the foundation of a stable, reliable setup.
A Quick Word on Cable Management
Now that everything's plugged in, you've probably got a bit of a cable mess on your desk. Before you even touch the software settings, take five minutes to tidy up. This isn't just about looks; good cable management stops you from accidentally pulling a cord out and makes your workspace feel clean and organized right from the start.
You don't need to get fancy. A few simple tools work wonders:
- Velcro Straps: Perfect for bundling power and video cables together behind your desk.
- Adhesive Cable Clips: These little clips can stick to the back of your desk or monitors to guide cables along a clean path.
- Power-Display Cables: Some modern USB-C cables can carry both power and video in a single cord, which is a massive help in cutting down on clutter. If you really want to simplify things, a 100W USB-C power-display cable from Chargie is a fantastic option to explore.
With the physical connections solid and your cables organized, you've officially built the foundation. The next step is to go into your computer's settings and tell it how you want to use these new screens.
Setting Up Your Displays in Windows and macOS
So, you've got everything plugged in. Most of the time, your laptop will see the new monitors right away. But seeing them and using them well are two different things. Right away, the setup probably won't feel quite right—your mouse might get lost trying to cross from one screen to another, or all three screens might be showing the same thing.
This is where you go into your computer's settings to tell it how you want your new workspace to work. Whether you're on a Windows machine or a Mac, a few quick changes are all it takes to make the entire setup feel natural and smooth.
Customizing Your Setup in Windows
For Windows users, getting to the right place is easy. Just find an empty spot on your desktop, right-click, and pick "Display settings" from the menu. That's your control center for everything monitor-related.
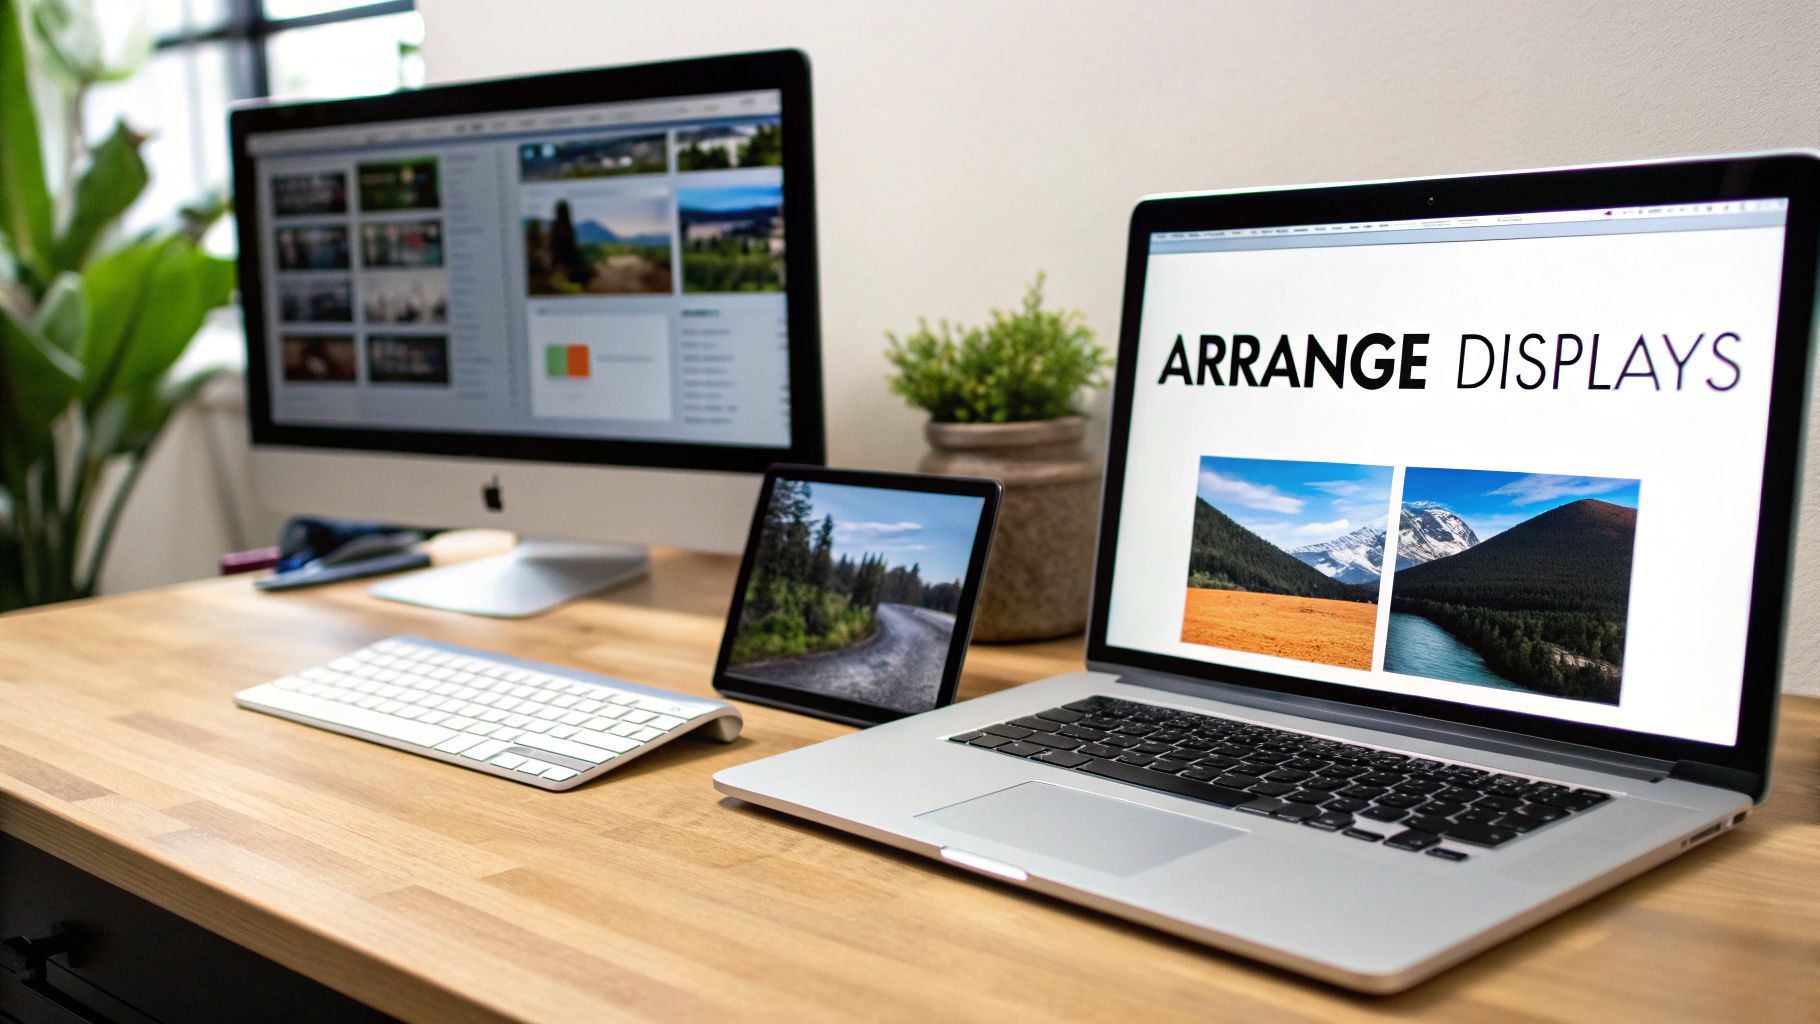
You'll see a diagram with numbered boxes—one for each screen. This is the key to getting a setup that feels right.
You can click and drag these boxes around to match the actual, physical layout of the monitors on your desk. Have your main screen in the center with the other two on the sides? Arrange the boxes in a "1-2-3" line. This simple step is what makes your mouse move smoothly from one screen to the next, exactly as you'd expect it to. It's a small detail that makes a huge difference.
Scroll down a bit, and you'll find the most important option for any laptop dual monitor setup: the display mode.
- Extend these displays: This is the one you want. It turns your separate monitors into one massive, continuous desktop.
- Duplicate these displays: This just copies your main screen onto the others. It's handy for presentations when you want your audience to see what you see, but it's not going to expand your workspace.
Setting your displays to "Extend" is what truly unlocks the multitasking power of a multi-monitor setup. It's how you get your spreadsheet on one screen, a video call on another, and your research open on a third—all at the same time.
Fine-Tuning Your Setup in macOS
On a Mac, the process is just as easy. Head to the Apple logo in the top-left corner, click "System Settings," and then find "Displays." Just like in Windows, you’ll see a visual layout of all your connected screens.
From here, you can drag the icons to match their real-world placement. If you're ever confused about which picture matches which actual monitor, just click one of the icons in the settings. A red border will flash around the physical screen, instantly telling you which is which.
macOS is pretty smart and usually defaults to extending your desktop, so you probably won't have to change that. What you will want to do is set your main display.
Choosing Your Main Display and Resolution
In both Windows and macOS, one screen needs to be the "main display." This is where your Windows taskbar or macOS Dock will be. It’s also where new apps and notifications will pop up first.
Here's how to set it:
- In Windows, click the monitor you want as your main one in the diagram, scroll down, and check the box that says, "Make this my main display."
- In macOS, it's even simpler. Just drag the little white menu bar from one monitor icon to another in the Displays settings. The one with the bar is your main screen.
Last but not least, give the resolution for each monitor a quick check. Your computer is usually good at picking the best setting automatically, but it doesn't hurt to confirm. A higher resolution gives you a sharper, clearer picture. Just select each monitor in the settings and make sure it’s set to the highest number available for the best clarity.
It's no surprise that powerful, multitasking setups like this are becoming so common. They're especially popular in the gaming world, where players can run their game on one screen while managing a chat on another. If you're curious, you can find more insights on the dual-screen market and its growth. With these settings adjusted, your desk has officially become a productivity powerhouse.
Solving Common Dual Monitor Setup Problems
https://www.youtube.com/embed/7jmcyIC6r7w
Even with the most careful planning, you might run into a few small problems when putting your new workspace together. It’s totally normal. A screen might flicker, or maybe it just won't turn on the first time you plug it in.
Don't worry. The good news is that most issues with a laptop dual monitor setup are surprisingly easy to fix, and it usually starts with the simplest things.
Before you start digging through complex computer settings, just give your cables a quick wiggle. Check that every plug is in firmly, both at the monitor and at your laptop or dock. I can't tell you how many times a slightly loose HDMI or USB-C plug has been the real problem.
When Your Monitor Isn't Being Found
So, your laptop is acting like the second monitor doesn't even exist. Don't panic. The first and easiest thing to try is a simple restart. You'd be amazed how many hardware problems a quick reboot can solve.
If that doesn't do the trick, here are a few other things to check:
- Update Your Graphics Drivers: The graphics card in your laptop is doing all the heavy lifting here. It's always a good idea to go to the manufacturer's website—whether that's NVIDIA, Intel, or AMD—and get the latest software for it.
- Force Your Laptop to Look Again: In Windows, you can go to
Display settings > Multiple displaysand hit the "Detect" button. For Mac users, go to your Displays settings, hold down the "Option" key, and a "Detect Displays" button will appear. - Check the Power: It sounds obvious, but make sure your monitors are actually plugged into a working outlet. It's also a good time to think about how you're powering your gear; understanding the differences between a power strip and a surge protector can help keep everything safe.
A flickering screen or a blurry image often points back to a bad cable or an adapter that can't handle the job. If you’re using a hub or adapter, make sure it is designed to support the picture quality you need for two displays.
The push for multi-screen productivity has made these setups incredibly common. Gamers use a second screen to keep an eye on their stream chat, and video editors can have reference materials up while they work. This trend just goes to show how important a stable, reliable setup is.
Correcting Blurry or Stretched Displays
If one of your monitors just looks… off—fuzzy, stretched, or just plain weird—the problem is almost always the display resolution. Sometimes your computer just guesses wrong when you first plug things in.
Head back into your display settings and click on the monitor that's giving you trouble. Find the "Display resolution" dropdown menu and make sure you've selected the one that says "(Recommended)." This number matches the monitor's natural resolution, which is the key to getting the sharpest possible image.
Remember, if you're settling in for long work sessions, taking care of your eyes is just as important as getting the tech right. It’s worth checking out a practical guide on how to reduce eye strain to keep yourself comfortable. With these fixes in your back pocket, you can tackle the most common setup snags and get back to enjoying your awesome new workspace.
Common Questions About Dual Monitor Setups
Once you've got your new dual-screen setup running, a few common questions usually pop up. Let's walk through some of the typical ones to get your laptop dual monitor setup perfectly adjusted.
Can My Laptop Even Handle Two External Monitors?
Most modern laptops can, but it all comes down to your computer's graphics power and, just as importantly, the video plugs it has.
Plugs like Thunderbolt and some types of USB-C are powerful enough to run multiple screens all by themselves. But if your laptop only has a single HDMI plug, you can't just use a simple splitter cable. In that situation, you’ll need a proper docking station or a special adapter built to manage two separate screens. The only way to know for sure is to look up your laptop model on the manufacturer's website and check the details.
Do My Monitors Have to Be the Same Model?
Not at all! You can absolutely mix and match monitors of different brands, sizes, and even resolutions. Modern computers, whether Windows or macOS, are designed to handle this kind of variety without any issues.
That said, using two identical monitors creates a much smoother and more visually consistent experience. When the colors, brightness, and physical sizes line up perfectly, it's just plain easier on the eyes, especially during long work sessions.
Why Is My Second Monitor Just Copying My Main One?
This is a classic problem! This happens when your display mode is set to "Duplicate" instead of "Extend." Duplicate mode is handy for presentations where you want your audience to see exactly what you see, but it won't give you that expanded digital workspace you're looking for.
Fixing this is super easy—you just need to go into your display settings.
- On Windows: Right-click an empty space on your desktop and select 'Display settings'.
- On a Mac: Open 'System Settings' and head over to the 'Displays' section.
From there, find the option for multiple displays and switch it from 'Duplicate' to 'Extend these displays.' This tells your computer to treat both screens as one big, continuous desktop.
Will Running Two Monitors Slow My Laptop Down?
Powering all those extra screen pixels does put a little more work on your laptop's graphics hardware. But for everyday tasks—like browsing the web, writing emails, or working in documents—you're very unlikely to notice any slowdown on a reasonably modern machine.
Now, if you're doing intense work like professional video editing or high-end gaming, you might see a small drop in performance. For most of us, though, the huge productivity boost you get from a dual monitor setup is well worth any tiny trade-off.
At Chargie, our goal is to help your tech work smarter and last longer. A well-configured dual monitor setup can make you incredibly productive, and protecting your laptop's battery health ensures it's always ready for the job. Check out our smart charging solutions to give your device's lifespan a serious boost.
Learn more at https://chargie.org.