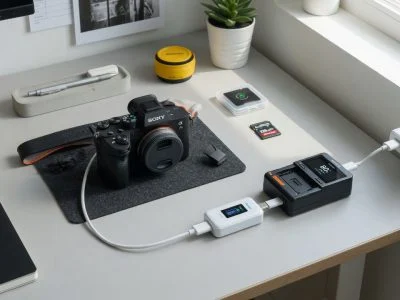
Camera Battery Health: Why Your DSLR & Mirrorless Batteries Die Too Fast
TL;DR: Your camera’s $50–80 Li-ion battery degrades fastest when stored at 100% charge between shoots. Professional photographers who leave batteries…
Read more →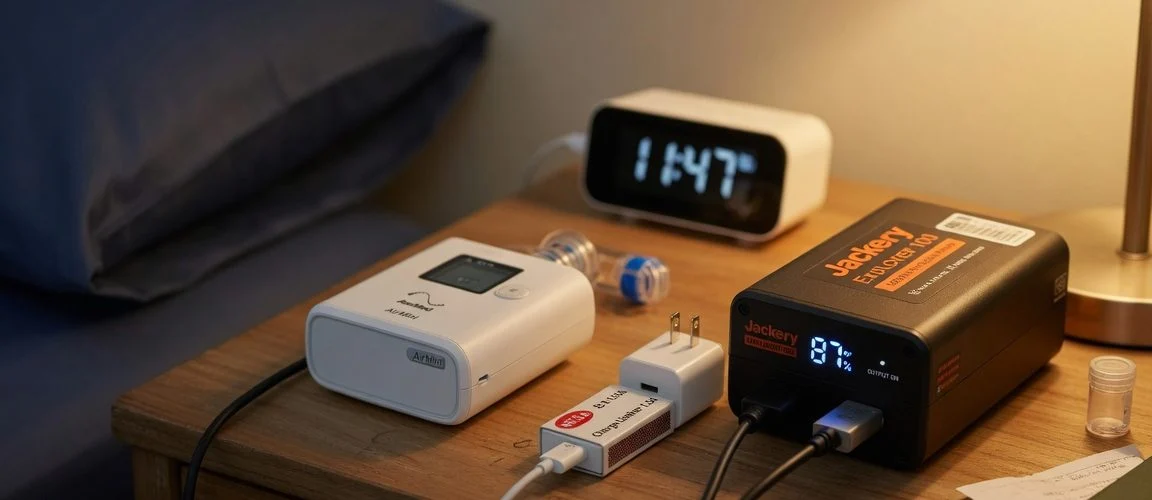
TL;DR: Your camera’s $50–80 Li-ion battery degrades fastest when stored at 100% charge between shoots. Professional photographers who leave batteries…
Read more →
TL;DR: Portable power stations from Jackery, EcoFlow, Anker SOLIX, and Bluetti cost $200–$2,000+ and are designed to sit unused for…
Read more →
Shared e-bike and e-scooter fleets run thousands of charge cycles per battery. Here is what Lime, Bird, Voi, and Tier's…
Read more →
TL;DR. Smart home hubs (Echo, HomePod, Hue Bridge, SmartThings) and the battery-backed sensors/thermostats that talk to them live in a…
Read more →
TL;DR: Your college laptop battery doesn’t have to die before you graduate. Students face uniquely harsh battery conditions: 24/7 dorm-room…
Read more →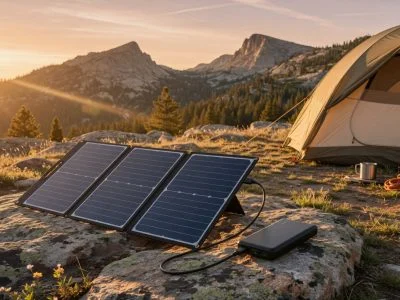
TL;DR: A solar power bank feels like free, endless energy — but it lives the hardest life of any battery…
Read more →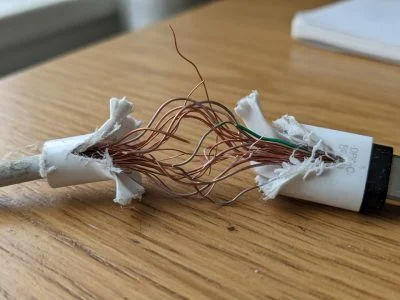
TL;DR: A frayed, kinked, or corroded charging cable isn’t just a cosmetic annoyance — it raises electrical resistance, generates heat,…
Read more →
TL;DR: A baby monitor lives plugged in around the clock, sitting at 100% charge while running a power-hungry camera, night-vision…
Read more →
TL;DR: Power tool batteries are among the hardest-worked lithium-ion packs you own — high-drain, fast-charged, and often stored full in…
Read more →
TL;DR: A dash cam has the harshest charging life of any gadget you own — it’s plugged into a hot…
Read more →
TL;DR: E-readers like Kindle and Kobo already win the battery-life game — E Ink screens draw almost zero power between…
Read more →
TL;DR: Every modern game controller — PS5 DualSense, Xbox Wireless Controller, Nintendo Joy-Con and Switch Pro Controller — runs on…
Read more →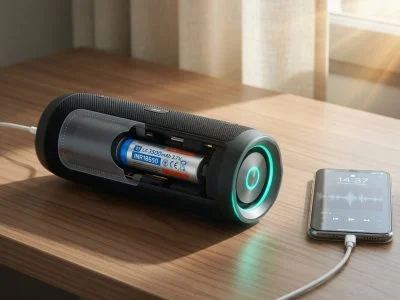
Bluetooth speakers age like any lithium-ion device — fastest when held at 100% and warm. Here's how to keep your…
Read more →
TL;DR: Robot vacuums live on their charging docks 24/7, and that constant top-off — plus heat, deep discharges on big…
Read more →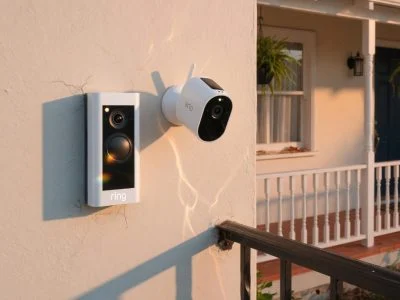
TL;DR: Battery-powered video doorbells and security cameras (Ring, Arlo, Blink, Eufy) die faster than their spec sheets promise because they…
Read more →
Android 15's 80% charging limit stops Pixel batteries early. Here's which phones have it, how to turn it on, and…
Read more →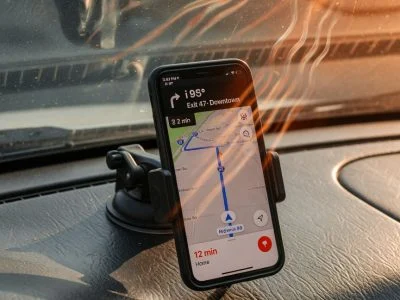
You’re driving to work, GPS running, music streaming, phone mounted on the dashboard. Android Auto or Apple CarPlay is lit…
Read more →
TL;DR: Drone LiPo packs die faster than phone batteries because they run at brutal discharge rates and are almost always…
Read more →
Meta Quest 3, Quest 2, and Apple Vision Pro batteries age fast — heat, daily full cycles, and full-charge dwell…
Read more →
Android tablet battery health is worse-tracked and, in many real-world cases, worse-managed than phone battery health — Samsung buries its…
Read more →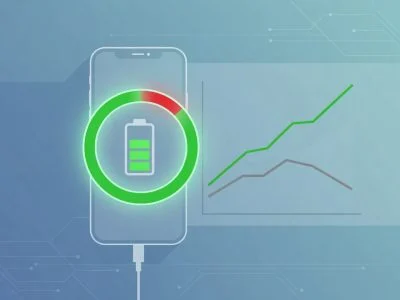
Should you charge your phone to 80%? Yes—here's why the 80% rule extends lithium-ion lifespan, what the science says, and…
Read more →
Short Answer Morning charging — or topping up throughout the day in the 20–80% range — is gentler on your…
Read more →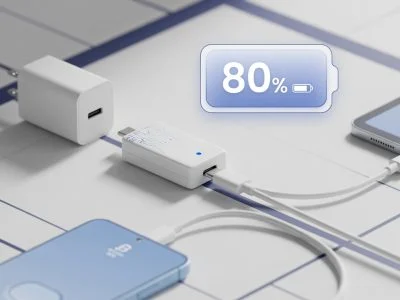
Built-in battery limits — iPhone Optimized Charging, Samsung Protect Battery, Lenovo Vantage, macOS battery management — are a real step…
Read more →
You check your iPhone at noon and you’re already at 40%. You haven’t done anything unusual — just the usual…
Read more →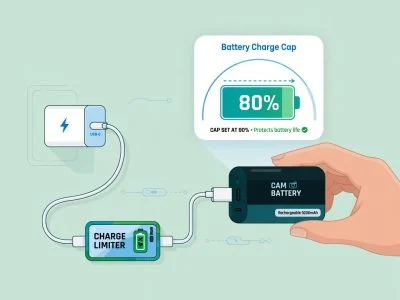
You’ve heard the advice: don’t charge your phone to 100%. Keep it between 20% and 80%. Use a battery charge…
Read more →
New 2026 airline rules restrict power banks to cabin carry-on only — and enforcement is stricter than ever. Here's the…
Read more →
Does a power bank damage your phone battery? The real risk isn't the hardware — it's charging to 100% repeatedly.…
Read more →
Cold Weather Battery Drain, City by City: The 2026 Winter Guide Cold weather battery drain hits differently depending on where…
Read more →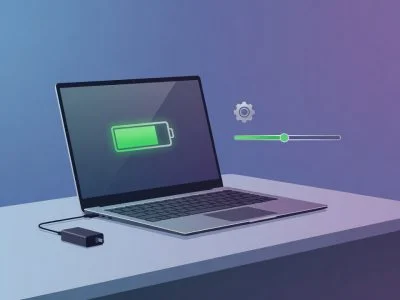
Run the free Windows powercfg battery report in 60 seconds, understand what your numbers mean, and learn the four steps…
Read more →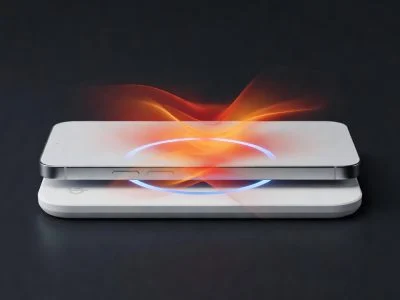
MagSafe charging feels magical but is it bad for your iPhone battery? Here is what 2026 testing shows about heat,…
Read more →
4th of July will torch your phone battery. Heat, GPS, photos, and travel drain it fast. Six simple tips to…
Read more →
TL;DR: Wireless charging does not inherently damage your battery, but it generates more heat than wired charging — and heat…
Read more →